Setting up GitLab with Let's Encrypt behind NGINX Reverse Proxy
Due to our recent growth in members and the numerous projects on our pipeline, arose the need for us to have a system that manages our projects. So I thought about GitLab, it is mainly a git repository manager that includes other useful functionalities like Continuous Integration, Issue Tracking and most importantly, it allows us to have better control on our projects. For example, the administrator can decide who contributes to which project and so on.
Since, GitLab is planned to run on one of our existing server, we had to run it behind a reverse proxy because of other services that run already on it. The thing is, GitLab is bundled with it’s own web-server which is a good thing if you plan to have a server that will run just this instance but in an otherwise situation like in our case, it is not really convenient because Port 80 & 443 are already used by our default web-server.
One simple solution was to change the port on which GitLab’s NGINX listens to. But I don’t like the inconvenience of having to specify a port after a web address. So the ultimate solution was to setup our default web server (which is NGINX as well) as a reverse proxy. Here’s how I proceeded.
First things first
In order for us to install Let’s Encryption certificates successfully using certbot we will have to stop any services that’s using the Port 80 temporarily since certbot doesn’t support deploying certificates to other ports than 80.
In our case, it was NGINX.
$ sudo service nginx stop
To verify that port 80 is now free type:
$ sudo netstat -luntap | grep LISTEN
Requirements
First thing to do is to find a capable Server. Head to digitalocean.com, scaleway.com or any of your preferred PaaS supplier and look for a server with the following minimal requirements:
- 2 RAM (At least but recommended is 4 GB)
- 50 HDD/SSD
- 2 Cores CPU (ARM or x86-64)
This configuration can support up to 100 users, so if you have more than that find a bigger server.
When it comes to choosing an Operating System for your server, I would always recommend that you opt for the Long-Term Support (LTS) version of your Linux Distribution.
Since I am going to use Ubuntu, I will choose the 16.04 release which is the latest LTS at the time of writing.
Installation
GitLab installation is very straight forward go to https://about.gitlab.com/downloads/ and select the your Operating System to get appropriate instructions.
Once, installed, you should configure GitLab to listen to requests from your domain. To do this type:
$ sudo nano /etc/gitlab/gitlab.rb
Edit as follows:

When finished, close and exit the file then reconfigure GitLab:
$ sudo gitlab-ctl reconfigure
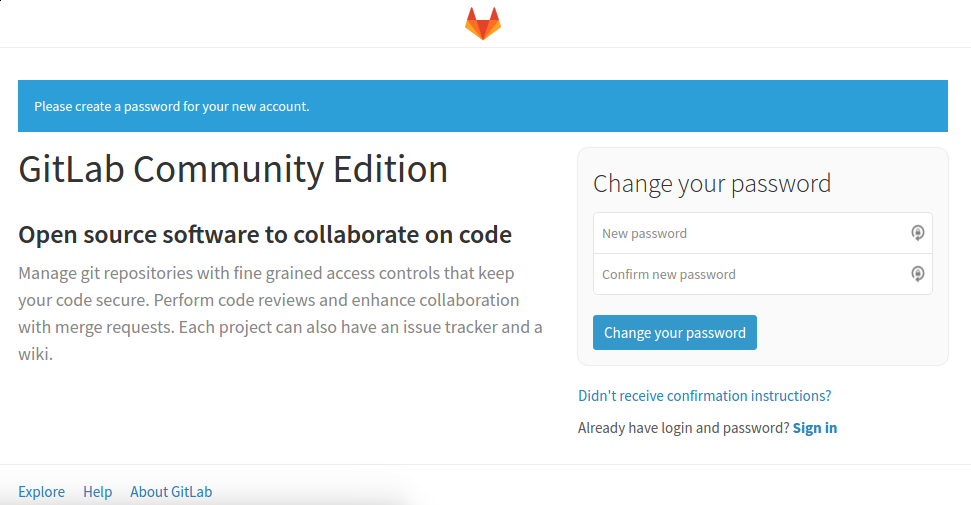
Now you should be able to access GitLab using the address you specified. Complete your account by setting up a password.
To login, your username most probably will be root, you can change that later on.
Configuration
Adding SSL Certificates
Before we change the Port on which GitLab’s listening to, we will proceed to install the SSL certificates using Let’s Encrypt.
First stop Gitlab for a while.
$ sudo gitlab-ctl stop.
Let’s proceed to install the certificates.
To install certbot, go to: https://certbot.eff.org/, select NGINX as web server and choose your operating system to get instructions on how to install certbot.
Once the latter installed. Create a webroot that certbot will use for domain validation.
$ sudo mkdir -p /var/www/letsencrypt
Then point GitLab to use the new webroot.
$ sudo nano /etc/gitlab/gitlab.rb
Add the line below under the NGINX section of the config file:
nginx['custom_gitlab_server_config'] = "location ^~ /.well-known { root /var/www/letsencrypt; }"
Close and exit when you’re done then reconfigure GitLab.
$ sudo gitlab-ctl reconfigure
Now we can request for SSL certificates using certbot:
$ sudo certbot certonly –webroot –webroot-path=/var/www/letsencrypt -d your_domain
If you need to specify more that one domain, append “-d another_domain” to the command.
If the request has been successful, you will receive something like this:
IMPORTANT NOTES:
 - Congratulations! Your certificate and chain have been saved at
   /etc/letsencrypt/live/gitlab.example.com/fullchain.pem. Your cert
   will expire on 2017-07-26. To obtain a new or tweaked version of
   this certificate in the future, simply run certbot again. To
   non-interactively renew *all* of your certificates, run "certbot
   renew"
 - If you lose your account credentials, you can recover through
   e-mails sent to [email protected].
 - Your account credentials have been saved in your Certbot
   configuration directory at /etc/letsencrypt. You should make a
   secure backup of this folder now. This configuration directory will
   also contain certificates and private keys obtained by Certbot so
   making regular backups of this folder is ideal.
 - If you like Certbot, please consider supporting our work by:

   Donating to ISRG / Let's Encrypt:   https://letsencrypt.org/donate
   Donating to EFF:                    https://eff.org/donate-le
Please take note of the location in bold, we will be using it later.
Time to apply our new certificates to GitLab.
$ sudo /etc/gitlab/gitlab.rb
Modify the external domain URL to add “https”.

Under the NGINX section uncomment and change the following settings:
. . .
nginx['redirect_http_to_https'] = true
. . .
nginx['ssl_certificate'] = "/etc/letsencrypt/live/your_domain/fullchain.pem"
nginx['ssl_certificate_key'] = "/etc/letsencrypt/live/your_domain/privkey.pem"
. . .
Close and exit when you’re finished then reconfigure.
$ sudo gitlab-ctl reconfigure
Don’t forget to expose port 443 if your firewall doesn’t allow it by default.
$ sudo ufw allow 443/tcp
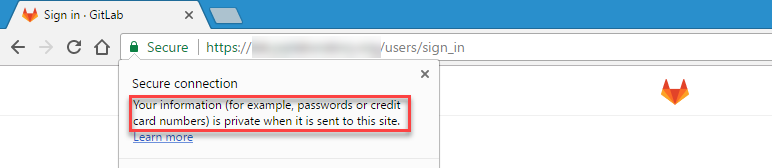
Go to your GitLab URL to test if everything works fine. If yes then then if should be like this:
Configuring GitLab’s server
Now we can proceed forward and change the port GitLab’s NGINX will be listening to.
$ sudo /etc/gitlab/gitlab.rb
The external_url parameter has to be changed to include the port you want to use. Do not use port 8080 as it is being used by Unicorn, another web-server used by GitLab.
There’s two ports that we need to change, first the port that listens for http requests (usually 80) and the one that accepts https requests(usually 443).
Change http port:

Scroll down to the NGINX section set “redirect_http_to_https” to true then change the https port.

Close and reconfigure GitLab.
$ sudo gitlab-ctl reconfigure
Try to access GitLab using the newly configured port. https://gitlab.yourdomain.com:200. If you did everything correctly you should be able to access GitLab. Don’t forget to specify https in the URL or else you will get a Bad Request error.
If everything is working correctly, we can now proceed to setup our Reverse Proxy.
Setting up Reverse Proxy with NGINX
First, let’s setup NGINX SSL configurations. For added security, let’s create a Diffe-Hellman 2048-bit group.
$ sudo apt-get install openssl
$ sudo openssl dhparam -out /etc/ssl/certs/dhparam.pem 2048
Let’s now create two configuration files in /etc/nginx/snippets/.
$ sudo nano /etc/nginx/snippets/ssl-params.conf
Copy and paste the following:
ssl_protocols TLSv1 TLSv1.1 TLSv1.2;
ssl_prefer_server_ciphers on;
ssl_ciphers “EECDH+AESGCM:EDH+AESGCM:AES256+EECDH:AES256+EDH”;
ssl_ecdh_curve secp384r1;
ssl_session_cache shared:SSL:10m;
ssl_session_tickets off;
ssl_stapling on;
ssl_stapling_verify on;
resolver 8.8.8.8 8.8.4.4 valid=300s;
resolver_timeout 5s;
#disable HSTS header for now
#add_header Strict-Transport-Security “max-age=63072000; includeSubDomains; preload”;
add_header X-Frame-Options DENY;
add_header X-Content-Type-Options nosniff;ssl_dhparam /etc/ssl/certs/dhparam.pem;
Close and exit the file.
The second configuration file will include the SSL Certificates path.
$ sudo nano /etc/nginx/snippets/ssl-gitlab.yourdomain.com
Add the following lines:
ssl_certificate /etc/letsencrypt/live/gitlab.yourdomain.com/fullchain.pem;
ssl_certificate_key /etc/letsencrypt/live/gitlab.yourdomain.com/privkey.pem;
Close and exit when you’re done.
Let’s finalize our configs! Create a new NGINX configuration for GitLab and open it.
$ cd /etc/nginx/sites-available/
$ sudo touch ./gitlab
$ sudo nano ./gitlab
Copy and paste the follow parameters in the configuration file:
server {
listen 80;
server_name gitlab.yourdomain.com www.gitlab.yourdomain.com;
return 301 https://$server_name$request_uri;
}
This will tell NGINX to redirect all http requests to https. Change the words in red to match your domain name.
Next, add the following block:
server {
listen 443 ssl http2;
server_name gitlab.yourdomain.com www.gitlab.yourdomain.com;include snippets/ssl-gitlab.yourdomain.com.conf;
include snippets/ssl-params.conf;location ~ /.well-known {
allow all;
}location / {
proxy_set_header X-Real-IP $remote_addr;
proxy_set_header Host $http_host;
proxy_pass https://127.0.0.1:200;
}
}
Close and exit the file.
To text it your nginx configuration is correct type the following:
$ sudo nginx -t
You should get something like this:
![]()
Ultimately, restart NGINX and start Gitlab
$ sudo service nginx restart
$ sudo gitlab-ctl start
Go to http://gitlab.yourdomain.com to test if everything is working good. 🙂
That’s it.
Best Regards,
Cedric.

![[Event] Introduction to Linux & Free Open-Source Software](/content/images/size/w720/wordpress/intro-linux2-1.jpg)