Replace, Move and Edit Protected Files in Windows
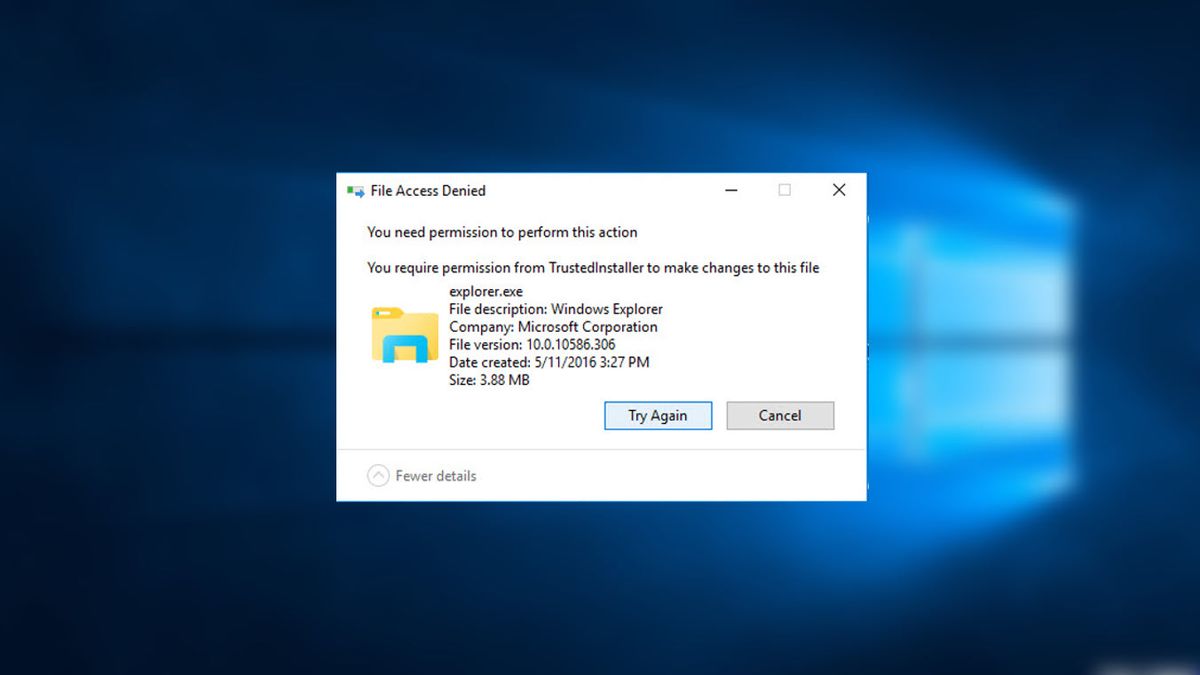
There are various occasions where you might want or need to replace some files in Windows that are system protected. For example, replacing a corrupted system file or if you are among those who like to edit Windows Shell resources and other files because they think the de facto personalization settings isn’t enough. Anyway, tinkering with system files in Windows isn’t done through mere copy-paste action. Windows uses an authentication system and by default a very special user has been privileged to edit protected files in Windows; the “TrustedInstaller” user account. Other users are given “read and execute” permission only.

So obviously, before we replace or edit any protected files we need to acquire certain permissions. There are four main ways of doing this.
- The easiest way is to use SysMate – System File Walker, a software which I have created that does just this job.
- Second method consists of acquiring the permission using File Explorer.
- The last method is very quick and straightforward consists of acquiring the permission using Windows Command Prompt.
Let us go through all three methods.
1) SysMate – System File Walker
- I recommend using SysMate – System File Walker if you don’t want to get your hands dirty and tinker with system file permissions by yourself. The download link and instructions are here at https://www.jcplaboratory.org/products/software/sysmate-system-file-walker/
2) Getting permissions using File Explorer
- Navigate to the file that you want to replace. Right-Click>Properties and go to the Security Tab.
- Before we assign permission we need to take ownership of the file and to do that click on Advanced and Change owner.

Now in the Users and Groups dialog click on Advanced and then Find Now. Find your username and click OK. Please don’t be misled, your username is represented by a Single User Icon with your username and PC name appended.

You will by then notice that the ownership information has now been changed to your user account name. Click Apply and comply to any prompt.

Now we are back to the file’s properties’ Security Tab. Click on Edit and Add. You’ll once again get the Users and Groups dialog. Click on Advanced>Find Now and locate your user account. Then back on the Security Tab give yourself all wanted permissions by checking the CheckBoxes.

Press OK and accept any prompt.
3) Getting permissions using Command Prompt
Using the Windows Command Processor do to this kind of job is the very straightforward.
- If you are using Windows 8 or above, press Windows Key + X then A to open an elevated command prompt window. You can also go to Start>Accessories>Command Prompt and run it as Administrator.
- To take ownership of the file type the following: takeown -f (file location) for instance if we want to take ownership on the shell32.dll file we would type in :

- Now we need to run another command to assign the full control permission over the file. Use the following command to do that: cacls (file location) /G [your username]:F for the shell32.dll file we would type:
 type y to accept the prompt and press enter.
That is it! You can now replace and move the file using the traditional copy & paste method.
Regards,
Cédric

![[Event] Introduction to Linux & Free Open-Source Software](/content/images/size/w720/wordpress/intro-linux2-1.jpg)